Answers
Create a new Purplepass event using WordPress
If you want to create a new Purplepass event using WordPress with the Purplepass Plugin, follow these steps:
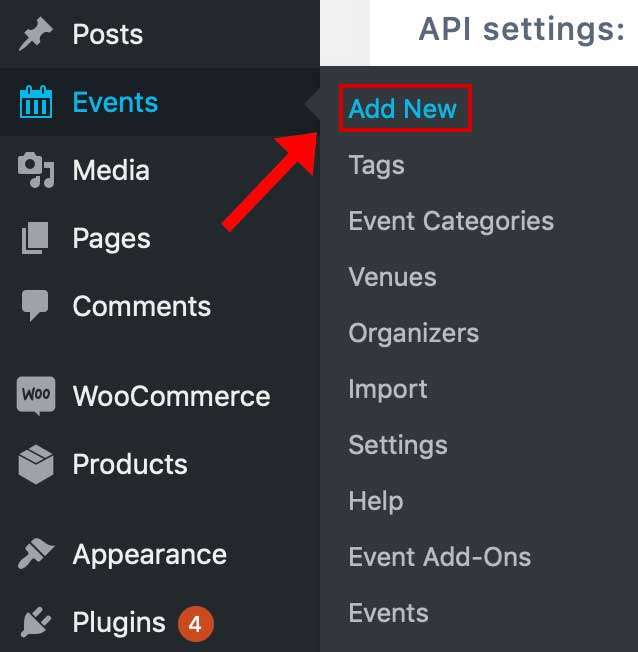
- Hover your cursor arrow over the Events tab located on the upper left side of the screen in the navigation menu
- A secondary options window will appear with Add New. Select the Add New option
- Hover your cursor arrow over the Events tab located on the upper left side of the screen in the navigation menu
- A secondary options window will appear with Add New. Select the Add New option
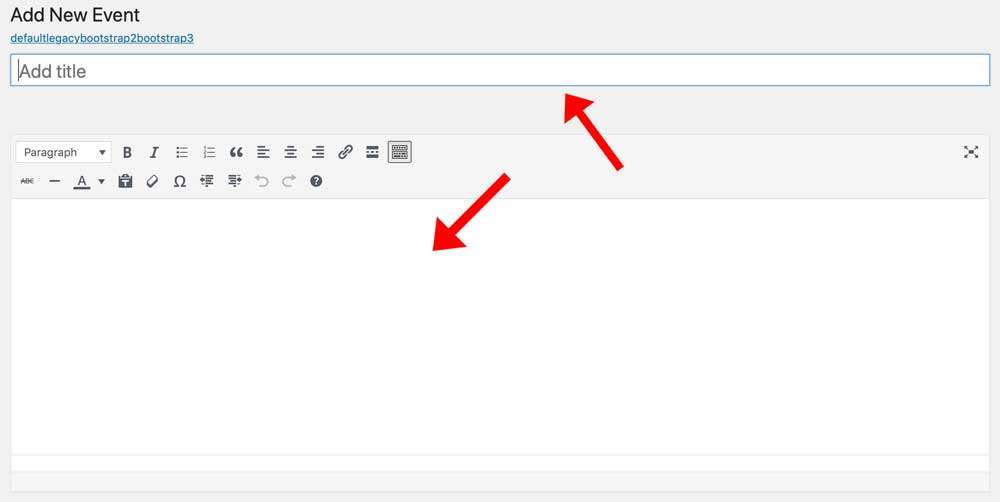
- Enter the title and description of the event in the spaces provided
- Enter the time and date under the The Events Calendar section
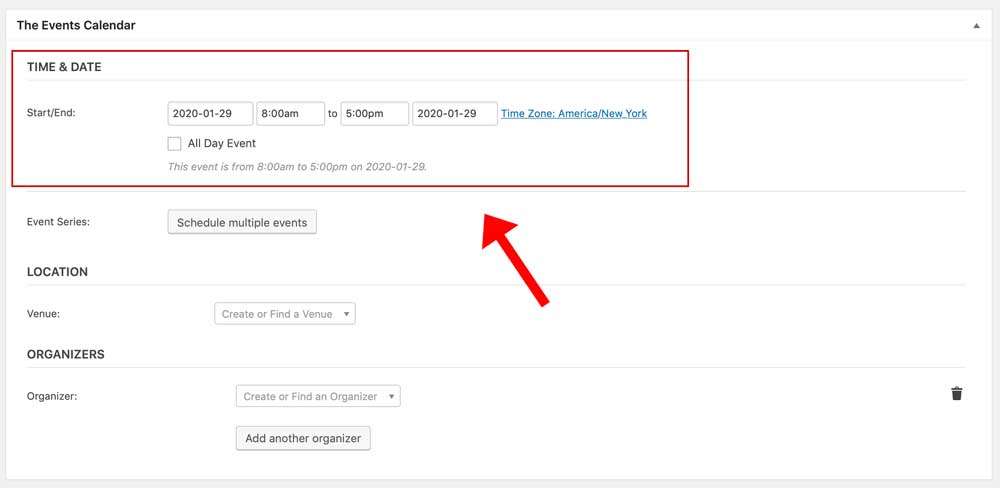
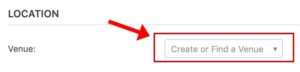
- Select the venue’s location from the drop-down menu next to Venue or add a new one if not listed from previous events
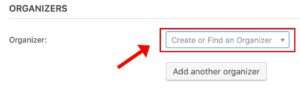
- Select the organizers below the venue location or add them
- The Sell Tickets section is where you enter all the relevant information for your Purplepass event. Enter details for the sections labeled Basic Information, Venue Location, Ticket Pricing & Options, and Additional Options just like you would in your Purplepass account.
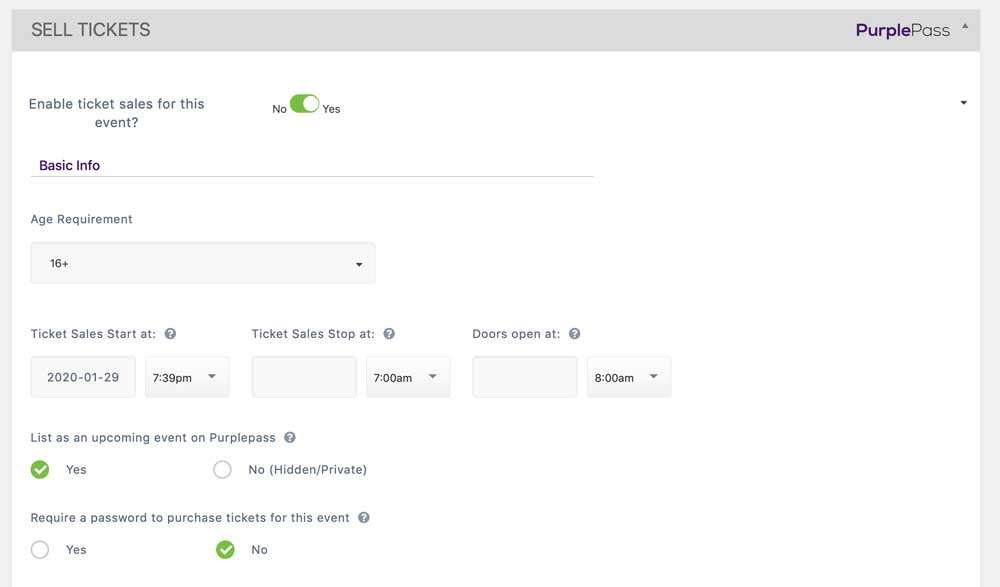
NOTE: if you already have an event created in Purplepass, you can sync your event information to your WordPress account under your Purplepass plugin.
For more information about using Purplepass' WordPress plugin, click here to access our guide.