Set automatic Facebook check-ins for ticket holders
Unswers
A social integration for growing your online presence
If you want to maximize your event’s visibility by harnessing the power of Facebook, you can select settings that will allow guests to have an automatic Facebook check-in when at the event.
Here’s how to set up your Facebook check-ins:
- Log in to your Purplepass promoter dashboard
- Edit an existing event or select “Create New Event” in the top navigation menu

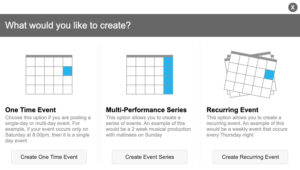
- Once the pop-up carousel opens, select “Create One Time Event”. Note: If you have a current event, hit “Edit” on that event to get to this same place
- Enter the appropriate event information until you reach the “Additional Options” section
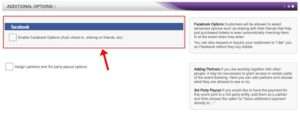
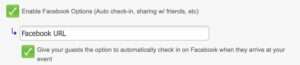
- Check the first box in the section titled “Enable Facebook Options” and then enter the Facebook URL for the event under the first check box
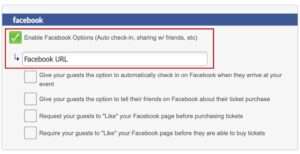
- Check the next box under the Facebook URL section titled “Give your guest the option to automatically check in on Facebook when they arrive at your event”
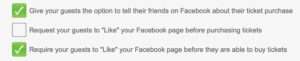
- You can also allow customers to notify friends about their ticket purchase by checking the next box
- The last two boxes are used to either request or require your guests to like your Facebook event