Answers
Steps for creating a new event
Once you create an event organizer account with Purplepass, it takes just a few minutes to create an event. Follow these steps and tips below.
- Log in to your Purplepass event organizer dashboard
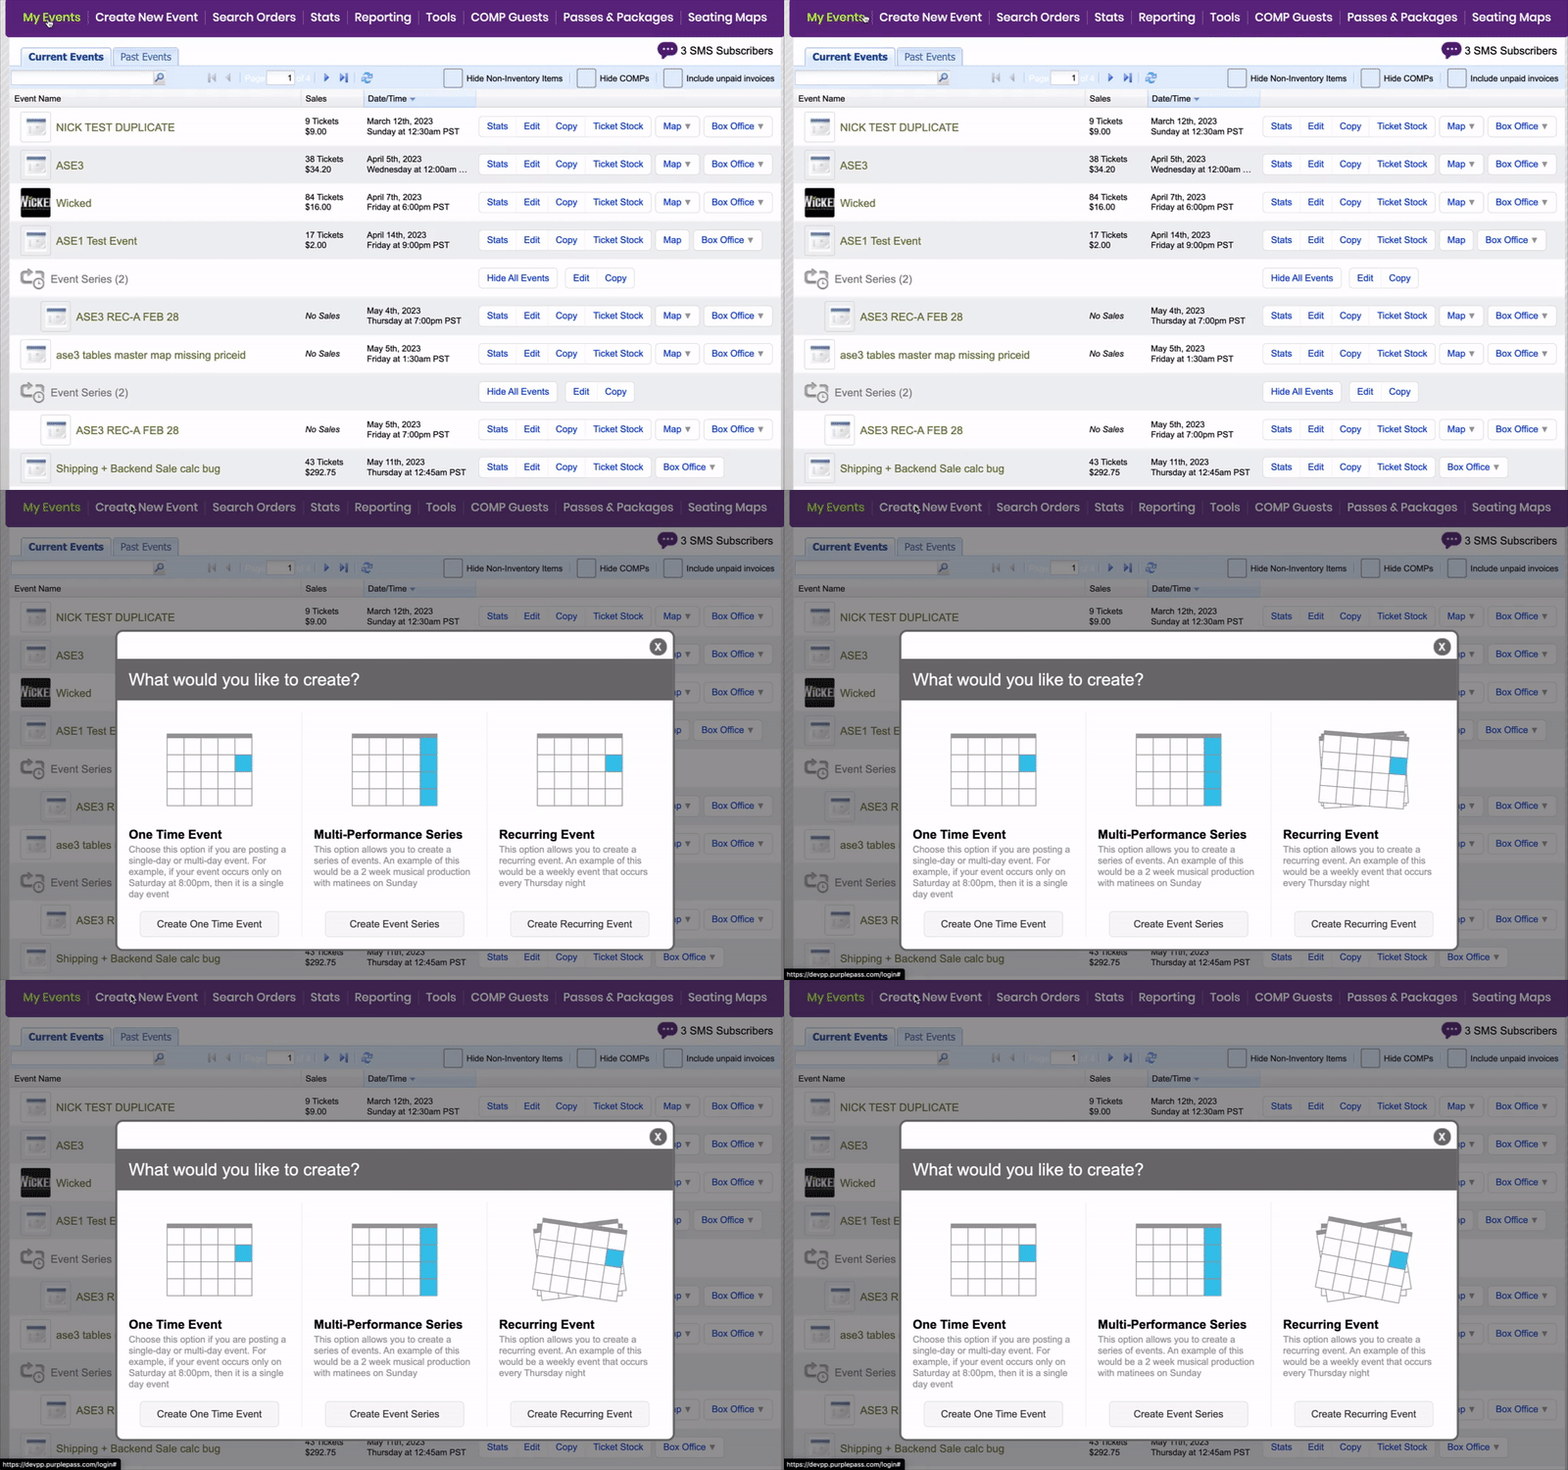
- Click Create New Event located at the top of the event organizer dashboard in the nav bar. NOTE: A pop-up menu will appear with more options.


- Once you select the type of event you want to create, enter the requested information in the corresponding sections.
Tips to remember when creating an event
- Tip #1: Include ALL event details (don’t skip or leave blank) in the provided fields
- Tip #2: Include age specific details and indicate if there are different age requirements for basic admission. NOTE: you can include different age requirements for specific admission ticket types like VIP. The age restriction will print on the ticket for easier admission.

Categories for building your event
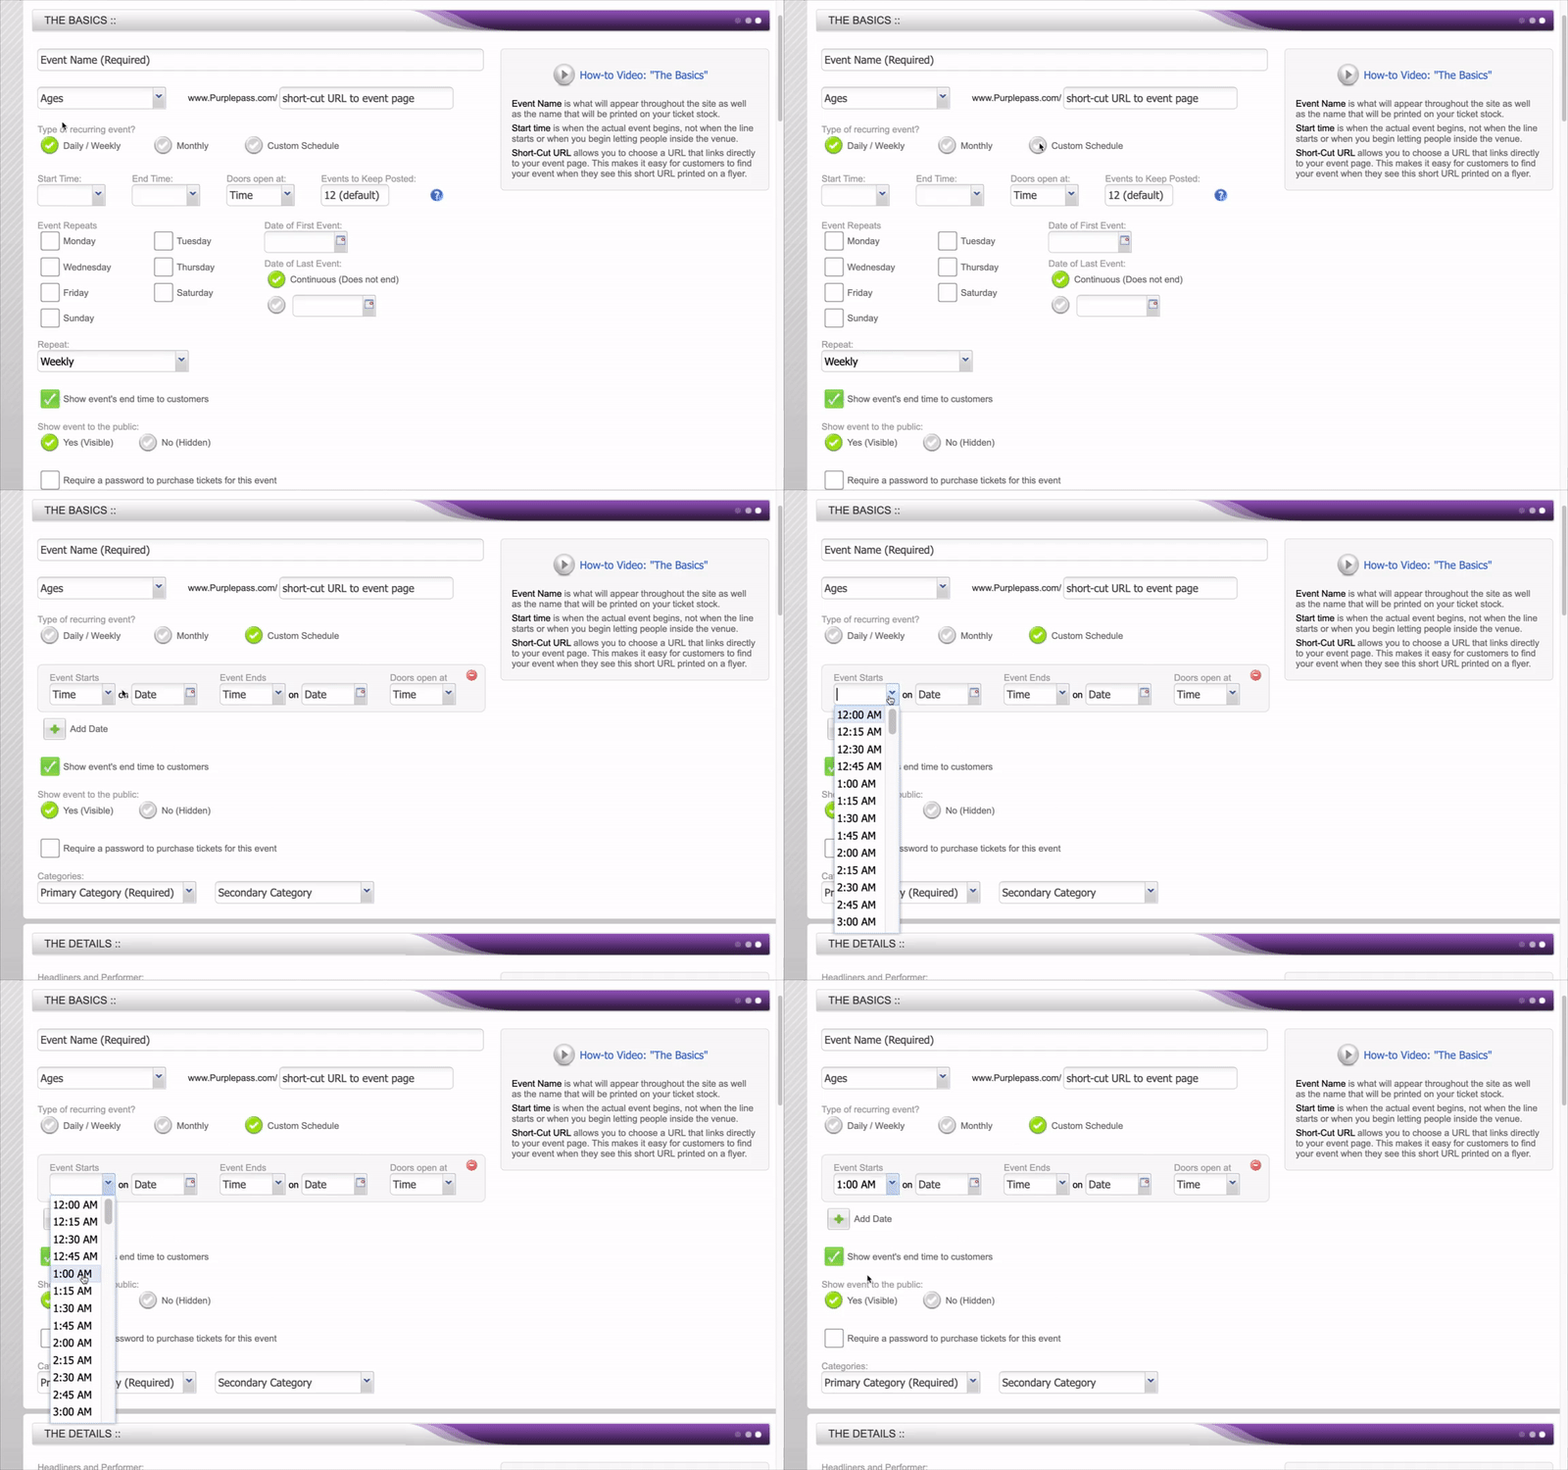
1. The basics: this is all the basic event information such as name, date, time, age requirements, etc.
2. The details: this is where you will fill in the necessary descriptions about your event and how it will appear online, displayed in search results or in event listings.
3. The location: your venue name, capacity, and address.
4. Ticketing pricing and options: decide if it is a paid, free or RSVP event. When ticket sales start and stop. Seating type (general or assigned). You can build different ticket types, advance pricing rules and create promo codes.
5. Additional media: here you can add event photos, header and background images, and videos.
6. Additional information: additional options for creating a new event include social integrations, partner access and 3rd party payouts, custom messages, email templates, and adding your custom print-at-home design.
