Answers
Steps for creating an email and saving it as a draft
If you want to learn more about creating an email for promotions and save it as a draft, follow these steps:
Step 1: Create your email
- Log in to your Purplepass event organizer dashboard
- Select the Tools tab at the top in the navigation bar

- Select Email Customers in the left navigation bar or select the box on the main page
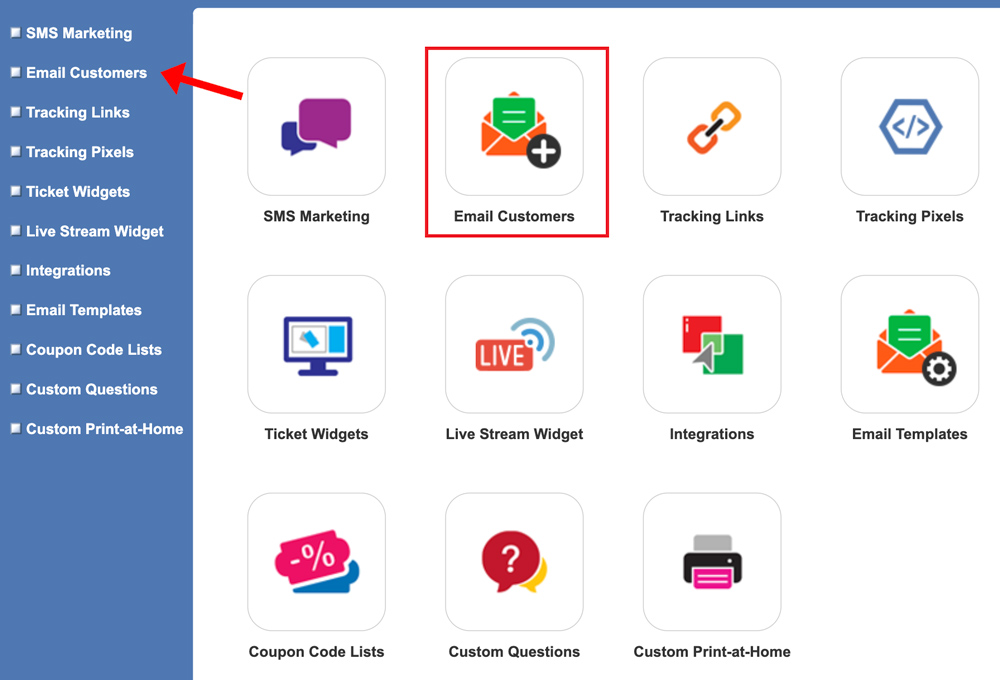
- Click the purple button labeled Create New Email Message
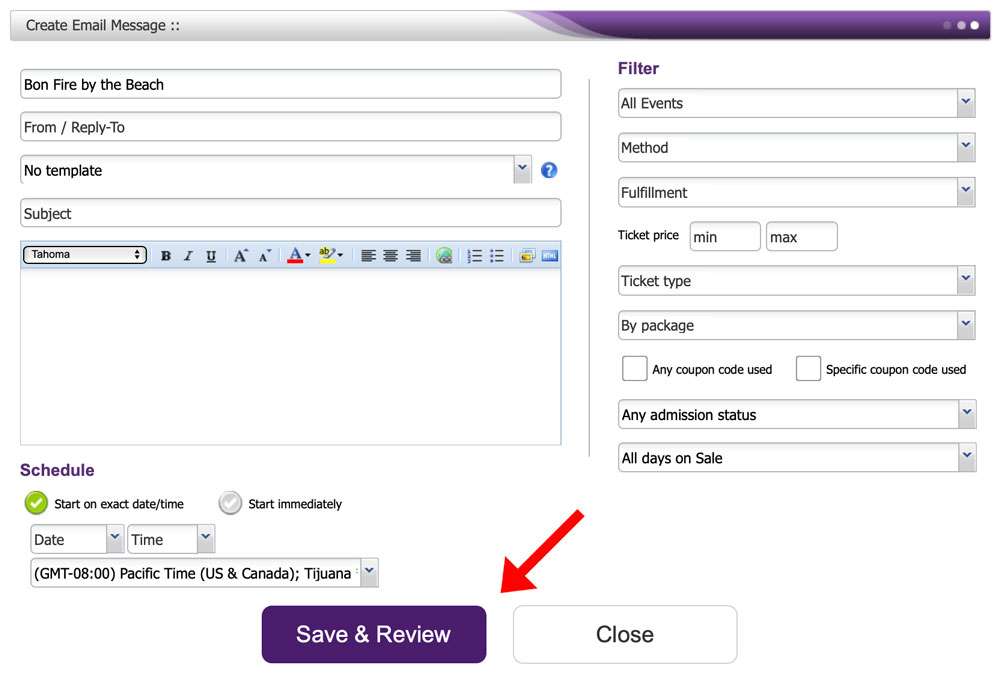
- The pop-up window Create Email Message will appear

- Enter the appropriate information in the From / Reply To section. NOTE: This information is generally the event organizer’s email.
- In the following section, select the template type from the drop-down menu or leave it as the default, No template. If you choose the Purplepass template, you will have the Purplepass header and footer on the email.
- In the text field, type your email’s message
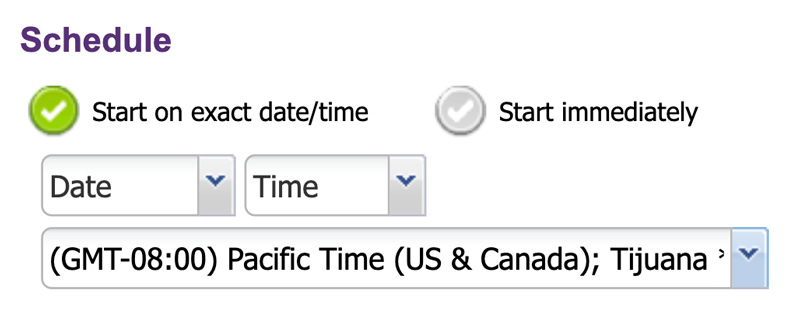
- In the Schedule section, enter the start date and time by checking Start on exact date/time, or check Start immediately
- To filter who the emails are sent to, you can change the filter options on the right of the screen. Once you're finished entering your email information, click the purple button, Save and Review.
Step 2: Save your email as a draft
After clicking the Save and Review button
- A pop-up window will appear with the information contained in the email
- You can either click the purple Yes button to send the email, or you can click the black button Save as draft. You can go back and edit the email by clicking the white Back button.